組み立て手順
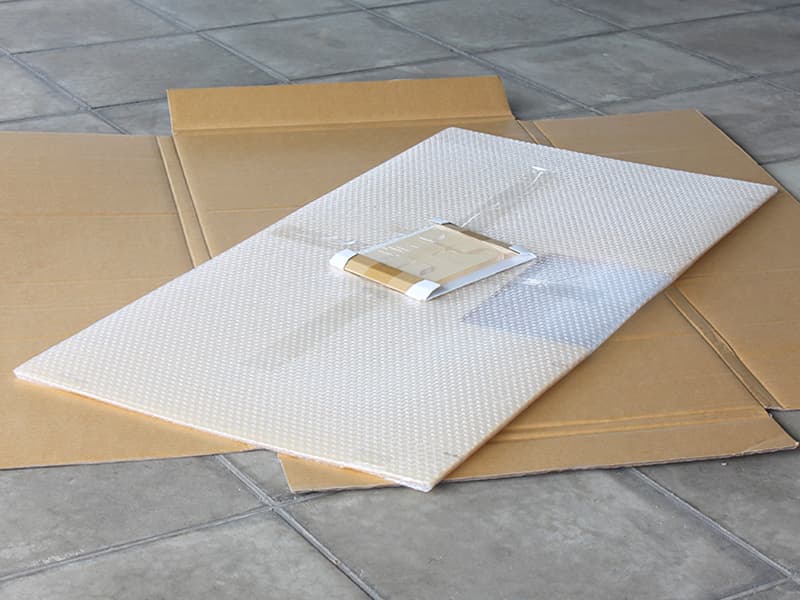
準備
この商品は組み立て後の移動が難しいため、設置する台の上で組み立てを行っていただくとスムーズです。
その際には梱包材を広げて敷くなどして家具に傷が付かないようご注意ください。
手順1
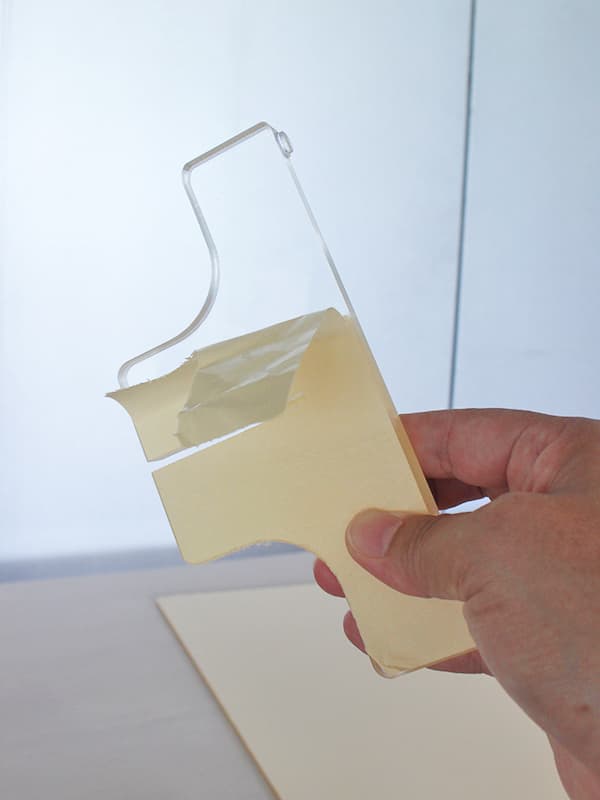
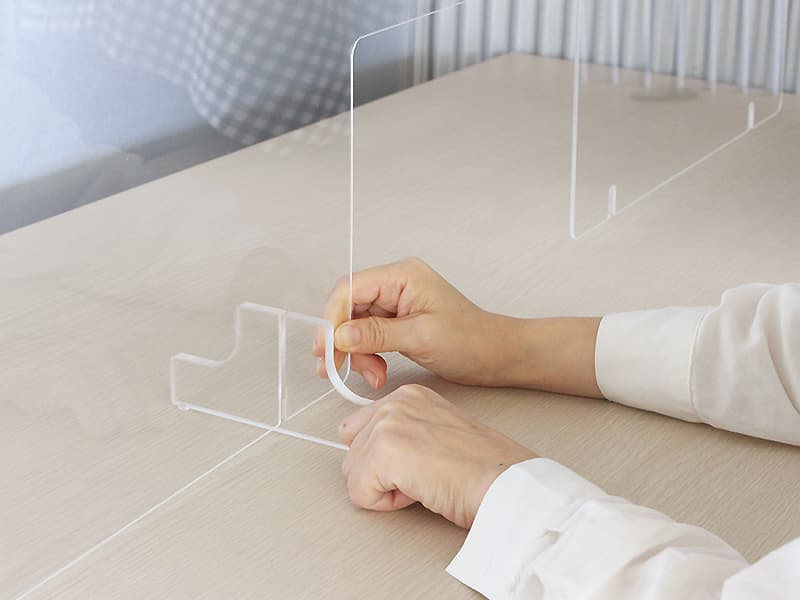
アクリルの各パーツの両面に貼られている保護シートをすべて剥がしてください。
手順2_1
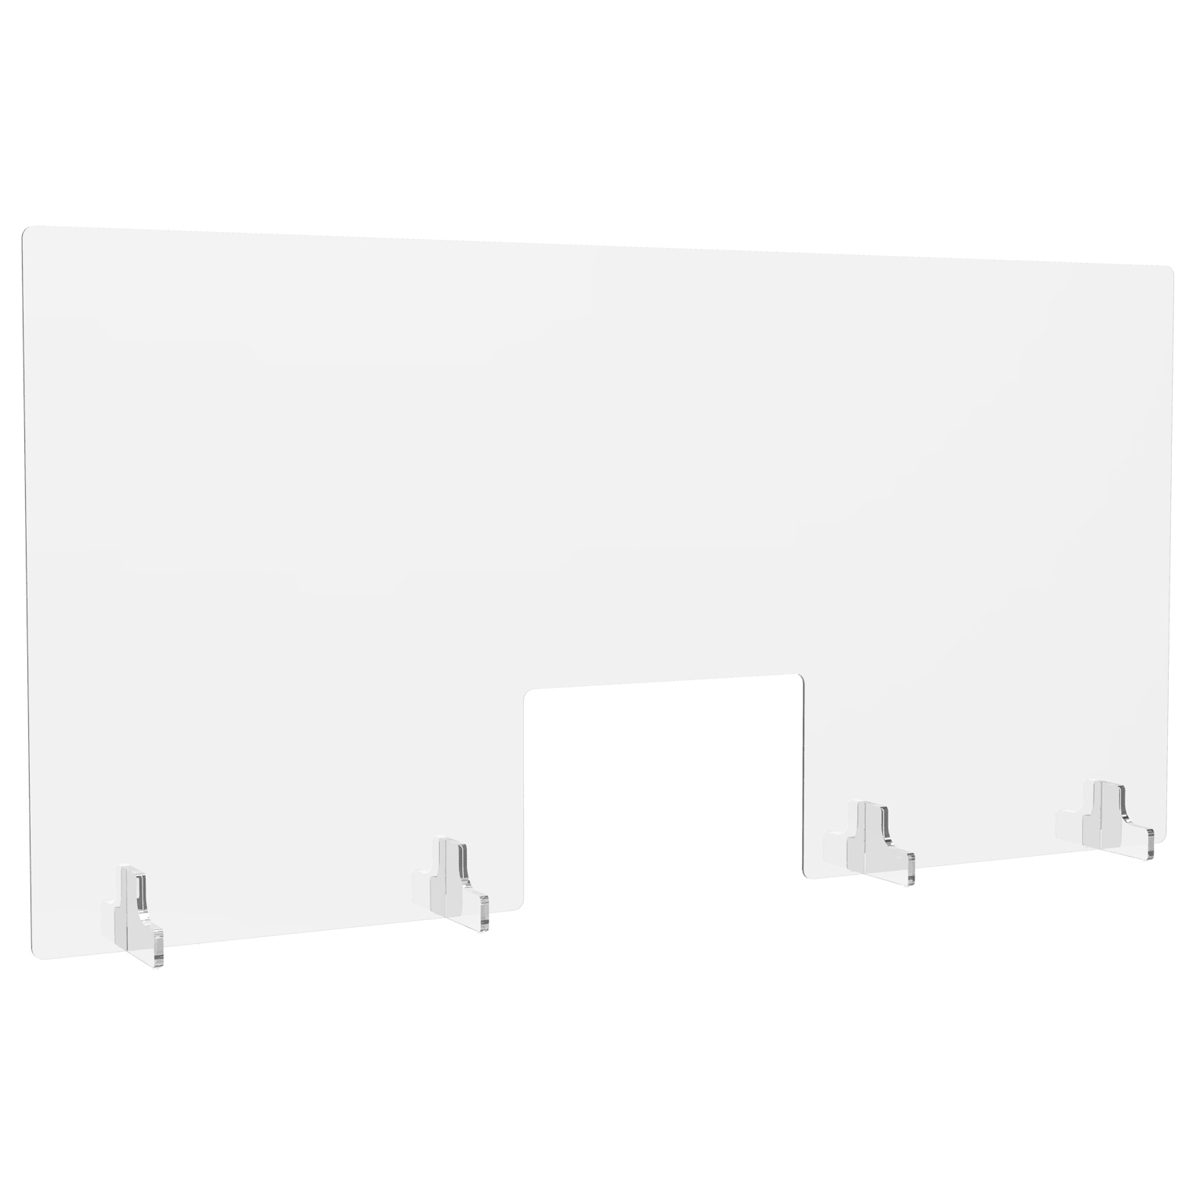
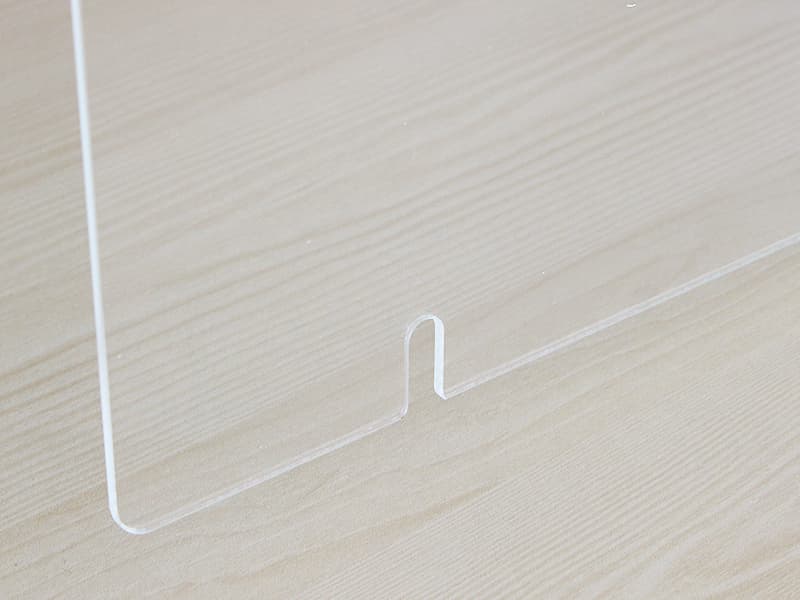
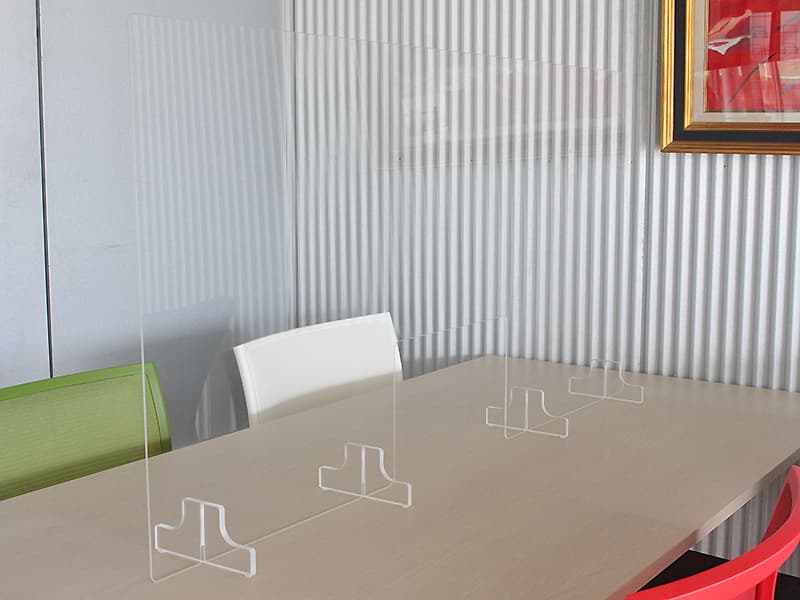
パネル(A)には差し込み溝があり、この部分に台座(B)を取り付けます。
手順2_2
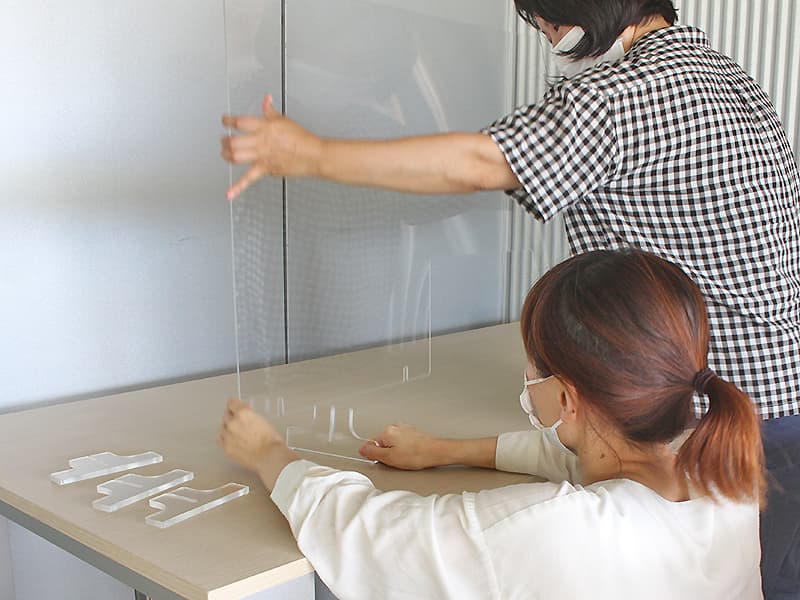
1人がパネル(A)を持ち上げた状態で、もう1人が台座(B)を取り付けます。
手順2_3
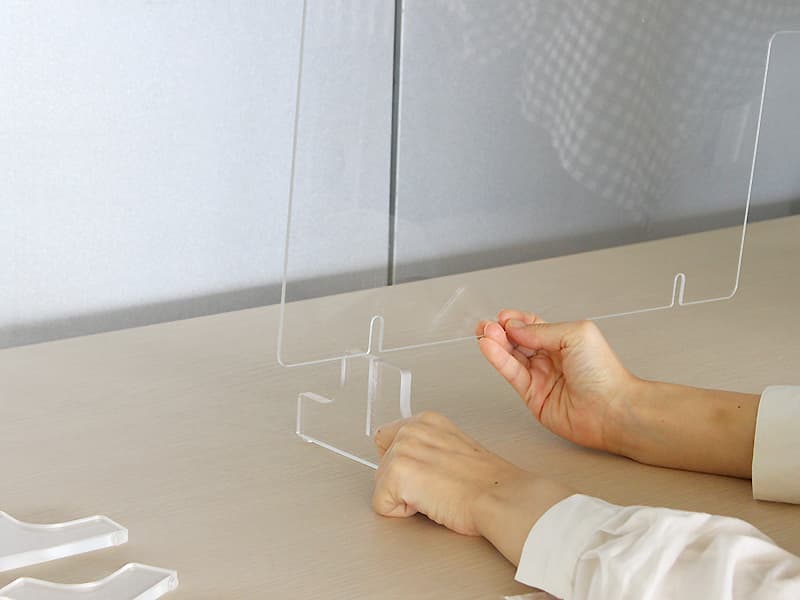
パネル(A)の溝と台座(B)の溝を十字に合わせて差し込み、組み付けてください。
手順3
奥までしっかり差し込まれていることを確認し、他も同様に行ってください。
完成
以上で組み立て完了です。
設置場所を変更する場合には、組み立て時同様2人以上で台座を取り外してから移動し、設置先にて再度組み立てを行ってください。

お客様相談室のコンテンツ


アール・エフ・ヤマカワのサービス